 |
Basket
0 items, £ 0.00

How to Lazy Daisy Stitch Around a Hole
Lazy daisy stitch is a simple embroidery technique that creates neat oval petals on the surface of your knitting. This guide shows how to work the stitch around a hole, as used on the School Teacher Tea Cosy, and explains how it forms the floral edging effect.
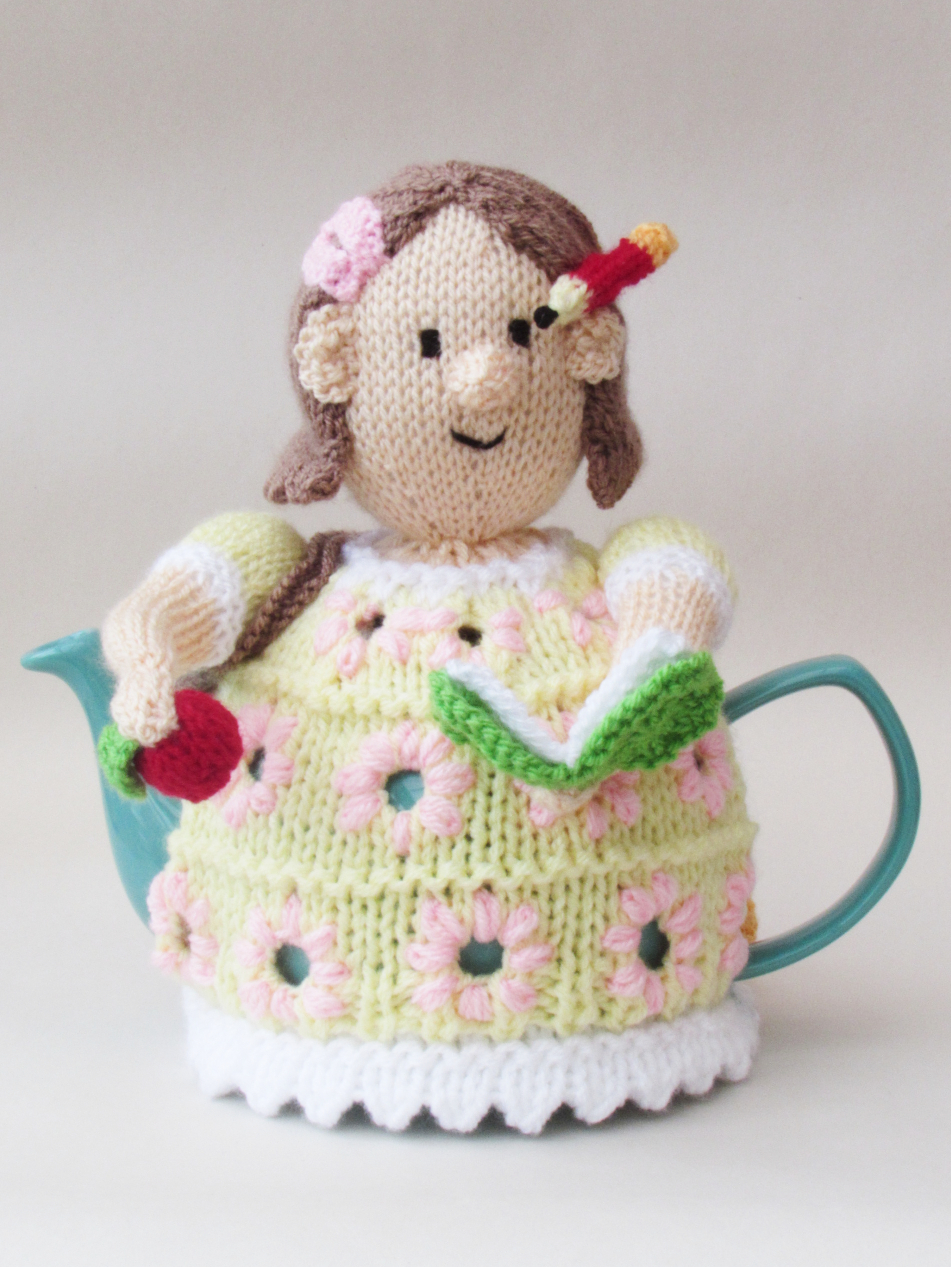 This help video shows you how to embroider lazy daisy stitch around a hole, a neat little technique that adds detail and decoration to your tea cosies. I’ve used this method on the School Teacher Tea Cosy design, where the stitches edge the holes on the main part of the cosy.
Lazy daisy stitch has always been popular with embroiderers. It’s often used to create small petals or foliage, and it’s a clever stitch because the thread sits on the surface of the work, forming an oval outline. The length of the stitch determines the size of the oval, so you can make tiny petals or longer leaf shapes simply by adjusting the stitch length.
On the School Teacher Tea Cosy, the lazy daisy stitches are worked around each hole on the teacher’s dress. The effect is that the main cosy looks as though it has a floral patterned fabric, and the holes reveal the teapot beneath, forming the centre of each flower. It’s a simple idea that creates a charming result.
In the video, I demonstrate how to work a ring of lazy daisy stitches around each hole to complete the teacher’s dress. The stitches are made with DK yarn, which gives them a plump, rounded petal shape. Once you’ve mastered the movement of the stitch, it’s a very satisfying technique to use, and it adds a lovely bit of character to your cosy.
For more tips, visit the Cosy Companion Guidebook at TeaCosyFolk.
This is part of the TeaCosyFolk Cosy Companion Guidebook, a collection of knitting and embroidery help for tea cosy makers.
Tags: Knitting tips