|
|
Basket
0 items, £ 0.00
What To Do When Your Knitting Does Not Match The Pattern Photos
A simple guide to understanding why knitting projects sometimes look different from the pattern photos.
Understanding why your finished knitting can look different from the pattern photos and how to achieve a result that matches more closely.
One of the biggest reasons knitting projects go off track is substituted yarn. Not all yarns behave the same. Next time you are in a yarn shop, try rolling a single strand of two DK yarns between your finger and thumb at the same time. You will often feel a difference straight away. Hayfield Bonus DK is slightly thicker than Stylecraft Special DK, and Cygnet DK is thinner again.
This matters because the tension and finished density of the knitting will change. As a designer I like to use Stylecraft Special DK because it is a good all round yarn, reasonably priced, good value for money and widely available in most UK shops and online. If you switch to Hayfield Bonus DK your tea cosy will come out a little larger. That might not sound dramatic, but if you need the cosy to grip the teapot, that small change can make it slip. If you switch to Cygnet DK the finished cosy may look thin, you may see the teapot through the stitches, and the overall size may be too small.
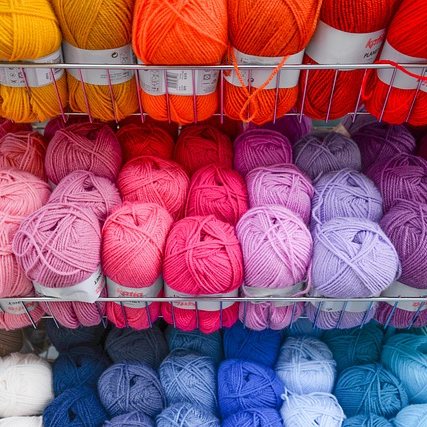
Yarn thickness can vary between brands, even within the same weight category. Substituting yarn without checking tension can lead to knitting that looks looser, tighter, or simply not like the pattern photos.
Sometimes tension can vary throughout the project. You might knit differently if you are tired or stressed, or your hands may be too warm which can stop the yarn running smoothly.
Another common culprit is the yarn ball itself. They are not really balls these days and they do not always release the yarn easily. Tugging at these brick shaped balls can pull on your work and create tight stitches in some places and loose stitches in others. I like to pull a small amount of yarn off the ball before I start and knit until that slack runs out, then pull off a little more. Do not pull off too much at once or it can tangle. Just enough for a couple of rows is ideal and it helps you avoid tugging.
Pattern reading, or misreading, can also change the outcome. If a row or section looks complicated, read it carefully and follow it exactly as written. Do not overthink it and do not assume the designer meant something that is not stated. If something does not make sense, do not push on regardless. Search Google, look for help videos, ask a friend or a knitting group. There is a whole internet full of knitting knowledge and knitters are always happy to help.
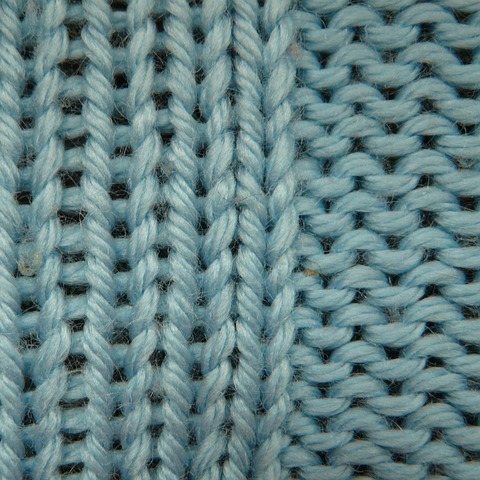
Tension squares help reveal how yarn thickness and needle size affect the final size and density of your knitting. Checking tension before starting ensures your finished project matches the pattern photos more closely.
For most people, knitting is a lot like handwriting. We are all taught the same way to form the letters of the alphabet, but everyone’s handwriting looks different. In the same way, everyone’s knitting is distinctive to them. Every time you knit something, it becomes an individual piece that only you could have made.
Read about How to Sew Up Knitting Seams Neatly with Mattress Stitch here.
Tags: