|
|
TeaCosyFolk Guide to Knitting Into Back Loops for a Neat, Stretchy Hem
This page is part of the TeaCosyFolk Cosy Companion Guidebook and it focuses on how to knit into the back loops from the cast‑on edge. It’s a really useful technique for creating a neat, stretchy picot hem, and it’s something I use in lots of my tea cosy patterns. If you’re looking for help with picking up stitches from the cast‑on edge, how to knit a picot hem, or how to make a flexible knitted hem that fits easily over a teapot, this guide and video will walk you through everything step by step.
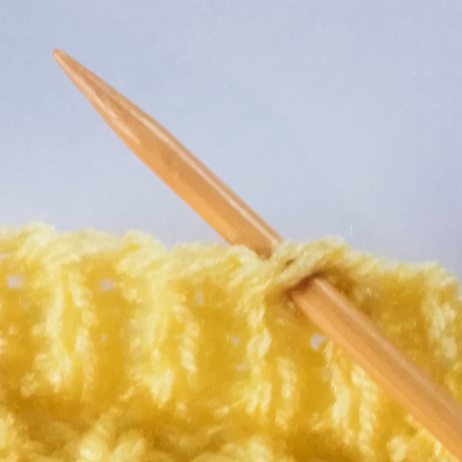
 This photo shows the knitted hem worked straight into the cast‑on edge, creating a smooth, flexible finish without any sewing. |
How to Knit Into Back Loops From the Cast‑On Edge
Knitting into the back loops from the cast‑on edge is one of those techniques that looks a bit mysterious at first, but once you’ve seen it done and tried it a couple of times, it becomes second nature. In this video I walk you through the whole process step by step, showing you exactly where to put your needle and how to pick up each stitch cleanly from the cast‑on edge. It’s a brilliant method for creating a neat, stretchy picot hem, and it’s something I use in lots of TeaCosyFolk patterns.
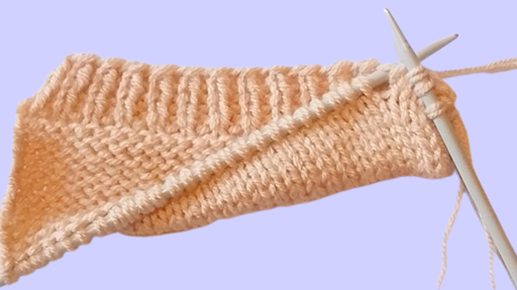
I like this technique because it gives a much more elastic finish than sewing the hem up. When a hem is sewn, it can lose some of its stretch, and that can make it harder to get the tea cosy over the teapot. By knitting the hem instead, the bottom edge stays flexible and has a lovely flush finish that blends beautifully into the rest of the cosy. It’s also quicker than sewing, and I know many knitters prefer to keep their needles in their hands rather than switching to a needle and thread.
Another big advantage is that you can see the stitches clearly along the cast‑on edge, so you’re never guessing where to go. The video shows you exactly what to look for and how to work into those back loops with confidence. It might feel a bit fiddly the first time, but once you get the hang of it, it’s a breeze and very satisfying to do.
You’ll find this technique used in several TeaCosyFolk designs, including the Halloween Skull Quality Street Box Cover, the Sugar Lump Ant Tea Cosy, the Big Wheel Tea Cosy, the Japanese Pagoda Tea Cosy, the Robin Hood Tea Cosy, and the Bingo Tea Cosy. If you’re searching for how to knit into the back loops, how to pick up stitches from the cast‑on edge, how to knit a picot hem, or how to create a stretchy knitted hem for tea cosies, this video will guide you through everything you need.
Tea Cosy Designs With This Knitting Technique: Knitting Into Back Loops From the Cast‑On Edge
 The Titanic Tea Cosy uses this knitted‑hem technique to keep the bottom edge lovely and stretchy. | 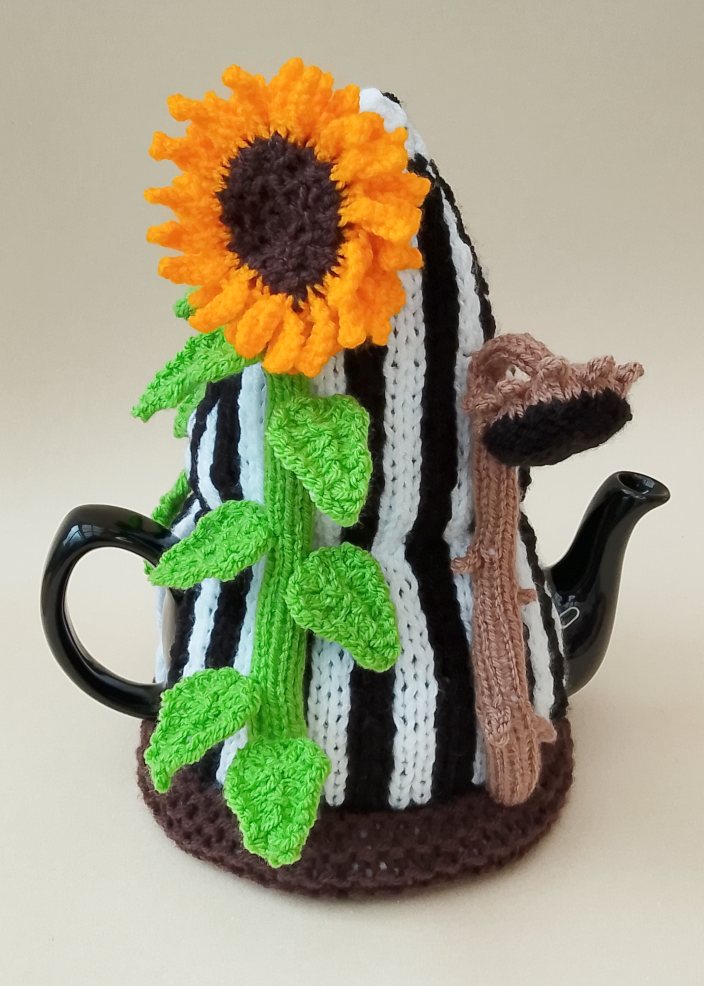 The Life of a Sunflower Tea Cosy begins with this flexible knitted hem, giving the cosy a smooth base that stretches comfortably around the teapot.. | 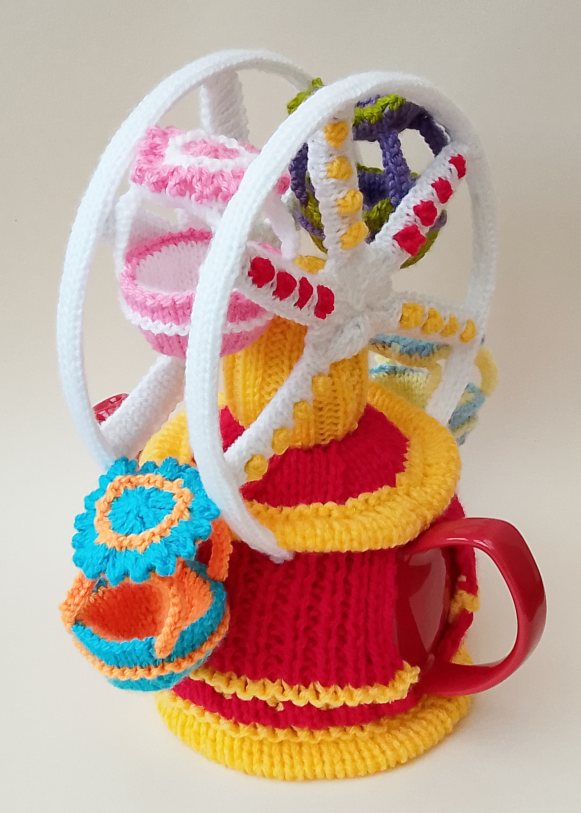 The Big Wheel Tea Cosy has a neat lower edge that billows out beautifully, with the cast‑on‑edge pickup row creating the perfect shaped base. |
How to Knit Into the Back Loops From the Cast‑On Edge Help Video
This video shows you how to work into the back loops from the cast‑on edge so you can create a neat, flexible hem without any sewing. It’s a simple technique once you’ve seen it done, and it gives the bottom of your tea cosy a smooth, stretchy finish that fits beautifully over the teapot.
Related Topics
How to Mark Along a Row in Knitting – the technique that helps you find the exact back loops when you return to knit the hem.
How to mark along a row in knitting
Overlap Joining in Knitting – a seam‑free joining method that keeps your knitting stretchy, making it a good partner to cast‑on‑edge hems.
Overlap joining in knitting
Pick Up Stitches from the Cast‑On Edge FAQ
Can I sew the hem instead of knitting it?
You can, but a sewn hem is never as stretchy as a knitted one because the sewing stitches pull the fabric together. It’s a bit like tying a loop of yarn tightly around the tea cosy; it won’t stretch or give, and it becomes almost impossible to get on and off the teapot. And remember, when the cosy goes on, the teapot will be hot, so you don’t want to be wrestling with it.