|
|
Basket
0 items, £ 0.00
How to Mark Along a Row in Knitting - Tea Cosy Tips and Techniques
Marking along a row in knitting is a simple technique that makes complex designs easier to manage. Learn how and why it matters in TeaCosyFolk patterns.
How to Mark Along a Row in Knitting
Sometimes when you are knitting tea cosies you might be asked to mark the ends of a row. That part is easy. You simply add a stitch marker or a bit of scrap yarn to the first and last stitch of the row that needs marking. But if you are asked to mark along a row, well that is a bit trickier.
I do find that some knitters, despite being told to mark a stitch or a row, take a chance and think it won't really be necessary. But as a designer, I only ask people to mark a stitch or a row when it is absolutely necessary and because I am going to refer to it later on in the pattern. If I have taken the time to tell you to do it, you can be sure it is going to be important and save you from getting in a muddle later on.
Why Marking Matters in Tea Cosy Knitting Patterns
Nine times out of ten, if a TeaCosyFolk knitting pattern has asked you to mark along a row, it is because in a few rows time you will need to pick up the back loops from that row. It usually happens when you are working in one big block of colour and then the design makes a budging ridge in the knitting, like the curls on the Judge Tea Cosy's wig. Notice how the curls on the wig are all worked in stocking stitch and stick out as individual curls. The wig is knitted in one piece and you mark along the row that you go back to pick up the back loops from. It saves on sewing up and gives a neat finish.
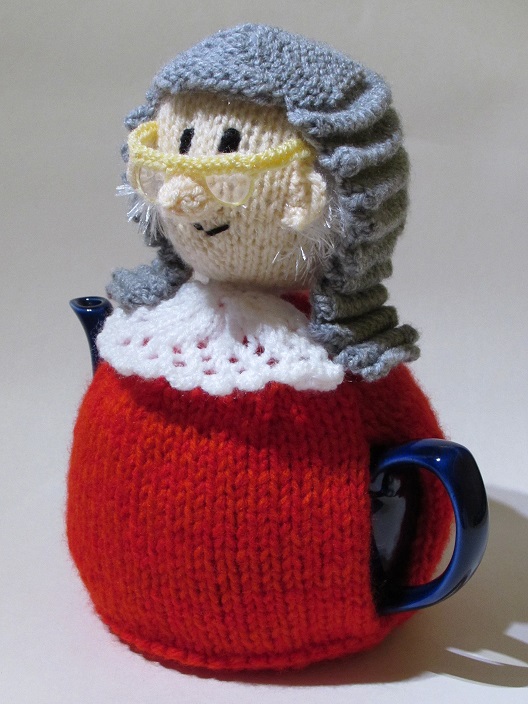
Marked rows in the Judge Tea Cosy wig help shape the curls directly into the knitting for a neat, sculpted finish.
How to Mark Along a Row with Scrap Yarn
To mark along a row is very similar to knitting with multiple colours where you carry the work, not with floaters, but by weaving the carried yarns in as you work along the row. It is easy to do once you have been shown. The working yarn catches in the carried yarn.
To mark along the row you take a length of spare yarn that is longer than the row you want to mark. You need to leave a tail hanging at either end of the row. The spare yarn does not need to be attached in any way and actually you will need to remove the yarn at the end, so if it is not attached it simply pulls out.
Tips for Choosing the Right Scrap Yarn
It is a good idea to have a contrasting yarn, something that stands out. It does not matter if it is unsightly, it will not be staying there. But a good contrast makes finding the row and visibility better later on.
It is better to use a length of spare yarn that is the same or similar yarn weight to the yarn you are working with. If the spare yarn is thinner than the knitting, the marker will get swallowed up and hidden amongst the chunkier stitches. And if the scrap yarn is thicker than the work, it might hide stitches and you might not easily see the row you are supposed to be working in.
Practice Makes Perfect
Like most knitting techniques, marking along a row with scrap yarn sounds a lot harder than it is and might even sound daunting. But once you have seen it done and tried it for yourself, you find it easier. And the more you do it, the easier it will become and it will be another skill that you can add to your knitting repertoire.
Knitting tutorial videos are a great way to learn new knitting skills. You can watch them as many times as you like until you get the knack and you can even stop and start the video to knit along so you can copy the stages step by step.
Tags:
How to, Guidebook, help videos, knitting support, how to mark a row in knitting, marking stitches in knitting, knitting tutorial for marking rows, Knitting techniques, Knitting tutorials, Knitting tips, Knitting stitches, Knitting for beginners,